

Flutter
세로로 위젯을 배치하기
세로로 위젯을 배치하기
이번시간에는 세로로 위젯을 배치하는 방법에 대해 알아볼게요.
박스를 만들어서 세로로 배치해볼게요.
위젯을 세로로 배치하는 위젯은 Column() 위젯입니다.
Column() 사용하기
Column위젯을 사용하려면 간단합니다.
Column위젯으로 감싸면 됩니다.
Column()위젯 안에 여러개의 박스를 넣어볼게요.
박스는 Container()위젯을 사용합니다.
5개의 박스를 만들어볼까요?
기존코드에서 Center안에 있는 Text위젯을 삭제할게요. 그럼 다음과 같죠.
class MyApp extends StatelessWidget {
  @override
  Widget build(BuildContext context){
    return MaterialApp(
      title: 'hello',
      theme: ThemeData(
        primarySwatch: Colors.blue,
      ),
      home: Container(
        color: Colors.red,
        child: Center(

        ),
      ),
    );
  }
}
Center안에 세로로 배치하는 위젯 Column을 사용할거에요.
Column을 추가하기 위해 child를 사용해요 Column한개를 추가하니까 child: Column()이죠.
그럼 코드는 다음과 같아요.
class MyApp extends StatelessWidget {
  @override
  Widget build(BuildContext context){
    return MaterialApp(
      title: 'hello',
      theme: ThemeData(
        primarySwatch: Colors.blue,
      ),
      home: Container(
        color: Colors.red,
        child: Center(
            child: Column(

            ),
        ),
      ),
    );
  }
}
Column안에 여러개의 박스를 놓을거니까 child가 아닌 children을 사용합니다.
그리고 children을 사용해 여러개의 위젯을 담을땐 []안에 위젯을 넣습니다.
다음과 같이요.
class MyApp extends StatelessWidget {
  @override
  Widget build(BuildContext context){
    return MaterialApp(
      title: 'hello',
      theme: ThemeData(
        primarySwatch: Colors.blue,
      ),
      home: Container(
        color: Colors.red,
        child: Center(
            child: Column(
                children: [

                ],
            ),
        ),
      ),
    );
  }
}
이제 []안에 Container위젯을 5개 넣어볼게요.
class MyApp extends StatelessWidget {
  @override
  Widget build(BuildContext context){
    return MaterialApp(
      title: 'hello',
      theme: ThemeData(
        primarySwatch: Colors.blue,
      ),
      home: Container(
        color: Colors.red,
        child: Center(
            child: Column(
                children: [
                    Container(),
                    Container(),
                    Container(),
                    Container(),
                    Container(),
                ],
            ),
        ),
      ),
    );
  }
}
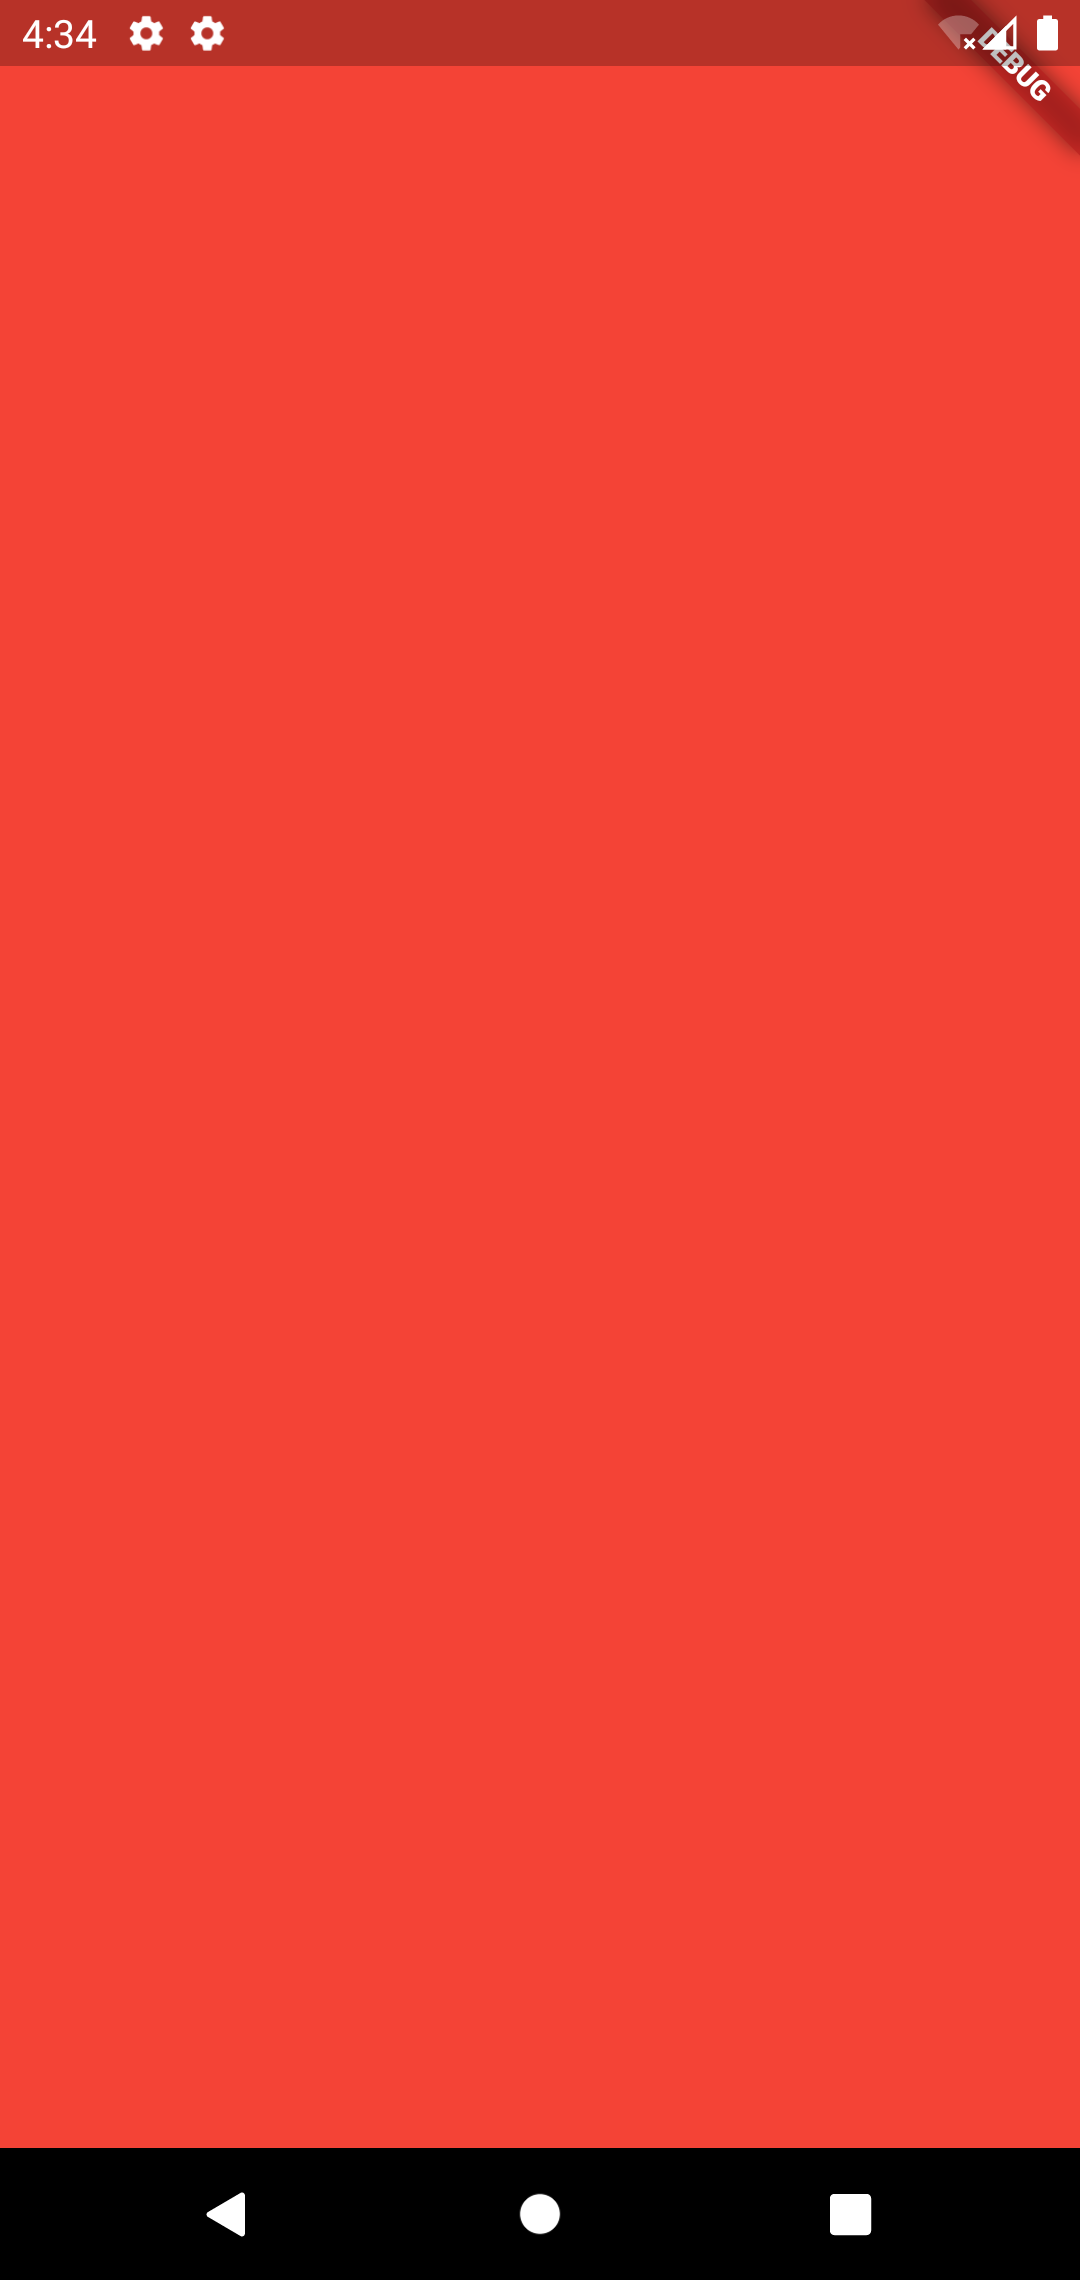
박스 5개를 Container()로 넣었지만 결과 화면으로는 구분할 수 없어요.
코드를 실행해 볼까요?
컨텐이너에 width(가로),height(세로)를 사용해 가로 세로 길이를 조정할 수 있어요.
color를 사용해 배경색도 지정할 수 있어요.
그럼 각각의 Container에 크기와 배경색을 지정해 볼게요.
class MyApp extends StatelessWidget {
  @override
  Widget build(BuildContext context){
    return MaterialApp(
      title: 'hello',
      theme: ThemeData(
        primarySwatch: Colors.blue,
      ),
      home: Container(
        color: Colors.red,
        child: Center(
          child: Column(
            children: [
              Container(
                width: 50,
                height: 50,
                color: Colors.blue,
              ),
              Container(
                width: 60,
                height: 60,
                color: Colors.yellow,
              ),
              Container(
                width: 70,
                height: 70,
                color: Colors.green,
              ),
              Container(
                width: 80,
                height: 80,
                color: Colors.purpleAccent,
              ),
              Container(
                width: 90,
                height: 90,
                color: Colors.pinkAccent,
              ),
            ],
          ),
        ),
      ),
    );
  }
}
위와 같이 하면 눈으로 박스를 보기 쉽죠.
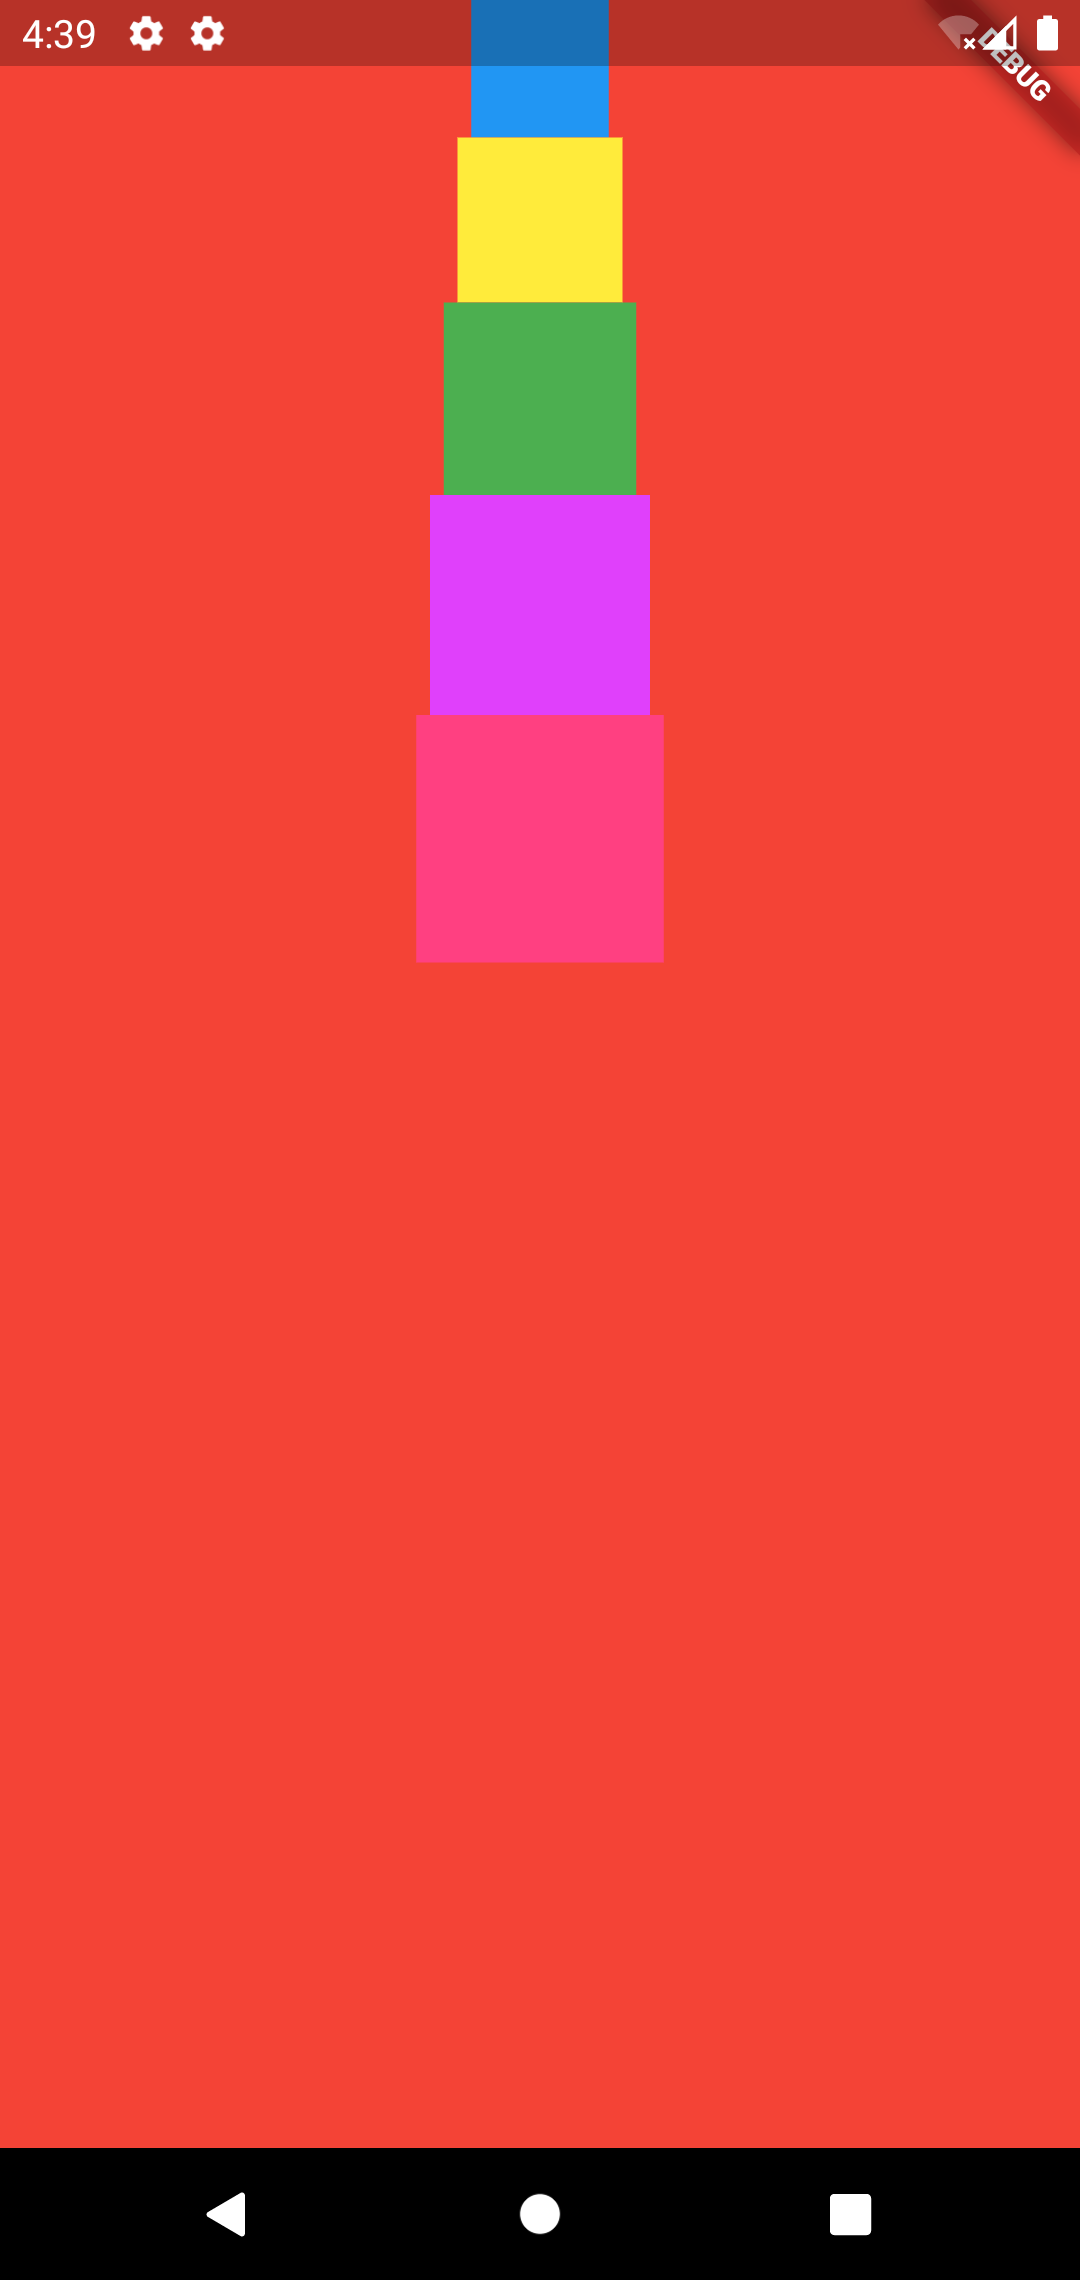
알록달록 뭔가 어릴때 갖고 놀던 장난감 같기도하네요.
이 박스들을 세로로 가운데로 배치해볼게요.
Column()박스안에 있는 박스들을 세로로 배치하므로 Column()안에 다음의 코드를 넣어요.
mainAxisAlignment: MainAxisAlignment.center,
Column()위젯에서 위의 코드는 세로로 가운데 정렬해줘요.
위의 코드를 Column()안에 입력합니다. 다음과 같이요.
class MyApp extends StatelessWidget {
  @override
  Widget build(BuildContext context){
    return MaterialApp(
      title: 'hello',
      theme: ThemeData(
        primarySwatch: Colors.blue,
      ),
      home: Container(
        color: Colors.red,
        child: Center(
          child: Column(
            mainAxisAlignment: MainAxisAlignment.center,
            children: [
              Container(
                width: 50,
                height: 50,
                color: Colors.blue,
              ),
              Container(
                width: 60,
                height: 60,
                color: Colors.yellow,
              ),
              Container(
                width: 70,
                height: 70,
                color: Colors.green,
              ),
              Container(
                width: 80,
                height: 80,
                color: Colors.purpleAccent,
              ),
              Container(
                width: 90,
                height: 90,
                color: Colors.pinkAccent,
              ),
            ],
          ),
        ),
      ),
    );
  }
}
결과를 보면..
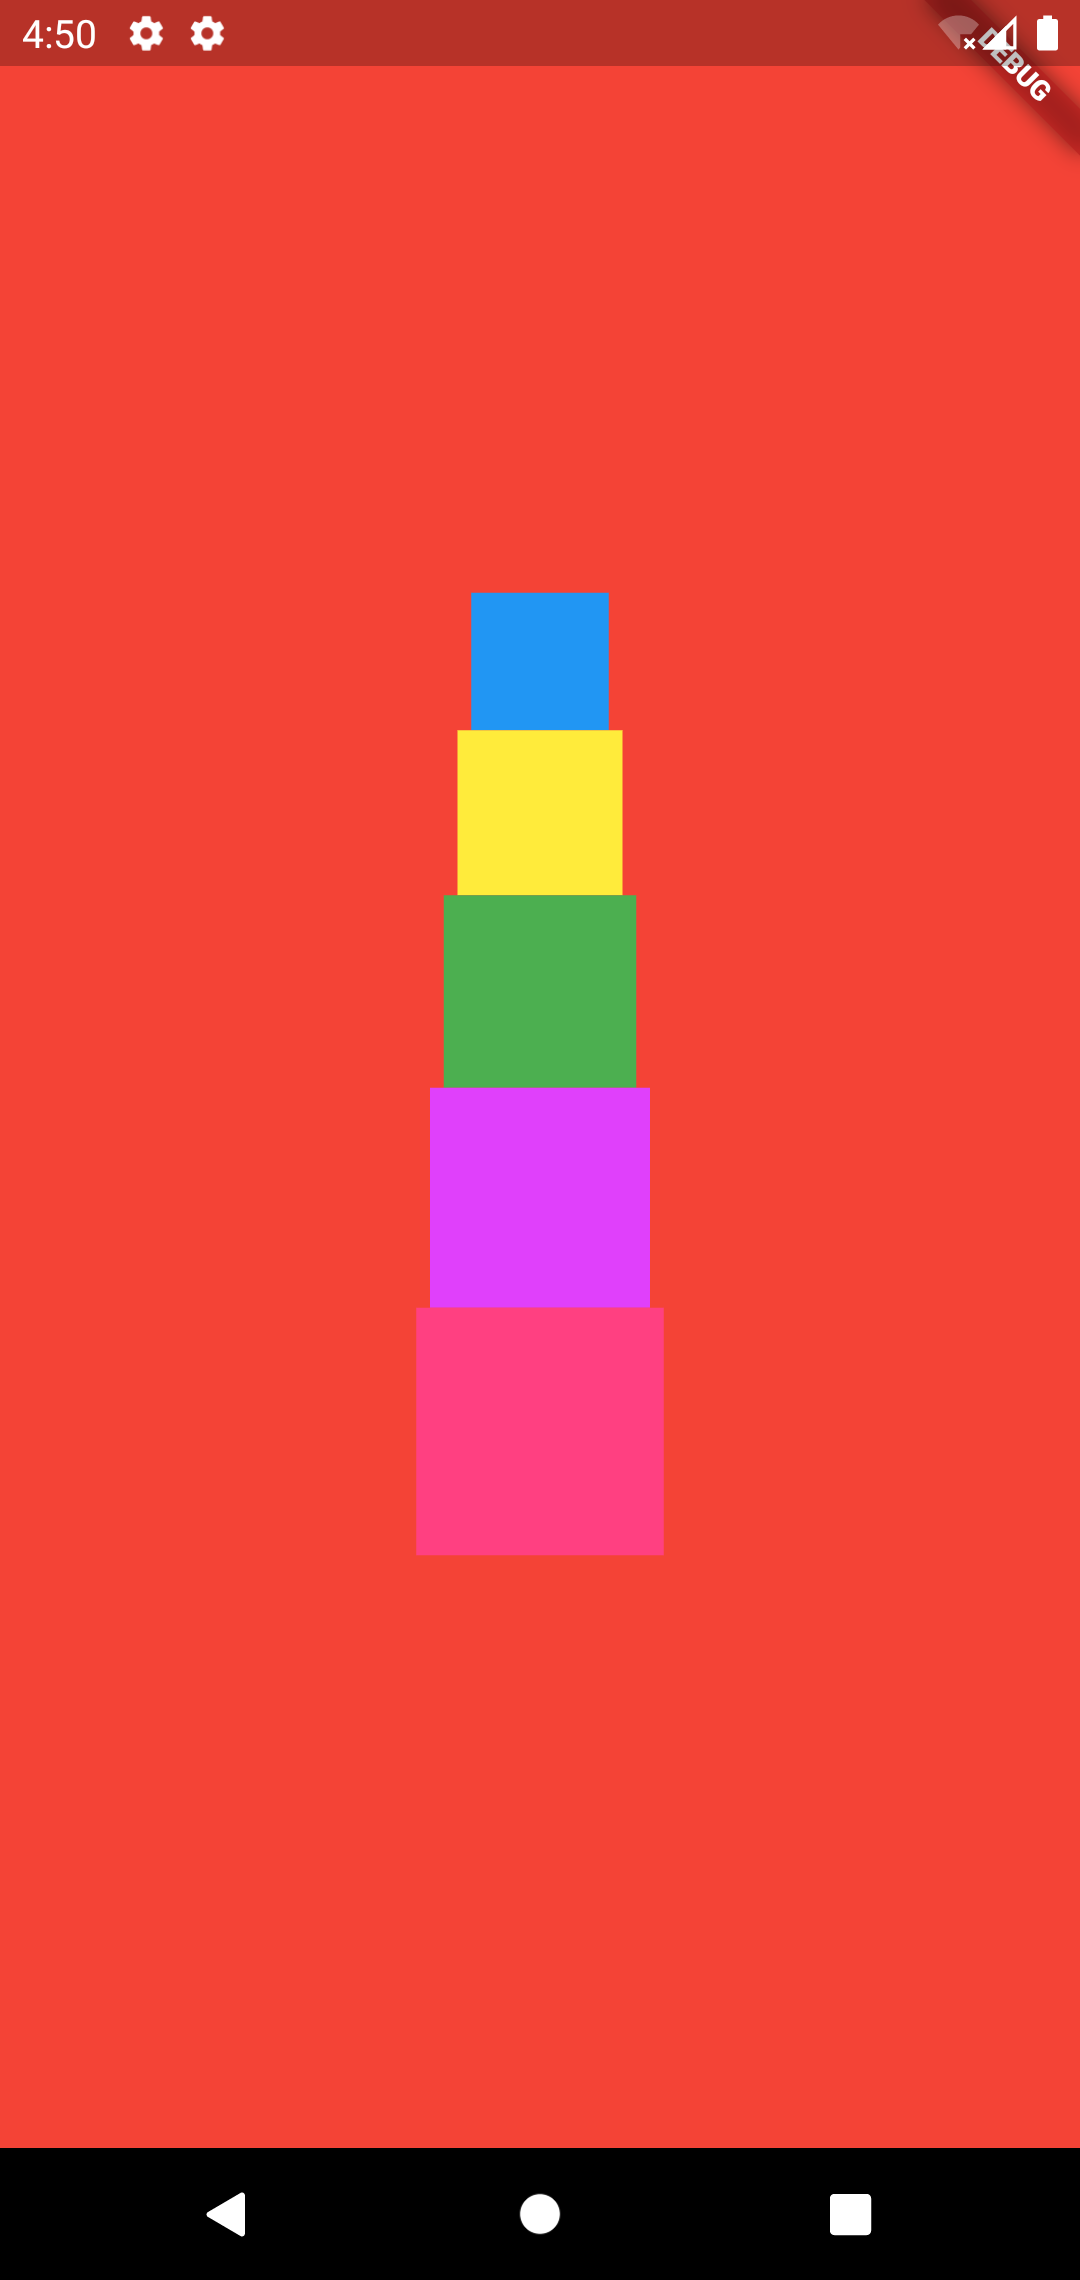
그럼 이번에는 근데 박스끼리 너무 붙어있어서 보기 좋지 않네요.
각 박스마다 margin값을 줘서 박스사이에 간격을 줘볼게요.
margin은 박스의 바깥으로 여백을 줍니다.
각 Container마다 다음의 코드를 추가해 주세요.
margin: EdgeInsets.all(10.0),
위의 코드는 박스 위 아래 양 옆으로 10픽셀 간격을 만들어요.
10이 아닌 10.0을 넣은 이유는 기본적으로 double 타입 값을 넣기로 되어있기 때문입니다.
그렇다고해서 제가 10을 넣어보니 오류 안나고 작동은 잘 합니다. 하지만 더블형을 넣으라고 되어있으니 더블형을 넣습니다.
그럼 최종 코드는 다음과 같죠.
class MyApp extends StatelessWidget {
  @override
  Widget build(BuildContext context){
    return MaterialApp(
      title: 'hello',
      theme: ThemeData(
        primarySwatch: Colors.blue,
      ),
      home: Container(
        color: Colors.red,
        child: Center(
          child: Column(
            mainAxisAlignment: MainAxisAlignment.center,
            children: [
              Container(
                width: 50,
                height: 50,
                color: Colors.blue,
                margin: EdgeInsets.all(10.0),
              ),
              Container(
                width: 60,
                height: 60,
                color: Colors.yellow,
                margin: EdgeInsets.all(10.0),
              ),
              Container(
                width: 70,
                height: 70,
                color: Colors.green,
                margin: EdgeInsets.all(10.0),
              ),
              Container(
                width: 80,
                height: 80,
                color: Colors.purpleAccent,
                margin: EdgeInsets.all(10.0),
              ),
              Container(
                width: 90,
                height: 90,
                color: Colors.pinkAccent,
                margin: EdgeInsets.all(10.0),
              ),
            ],
          ),
        ),
      ),
    );
  }
}
위 아래 양옆 모든방향으로 적용할때는 .all()을 사용하지만 .fromLTRB()를 사용하면 4개의 방향을 각각 지정할 수 있어요.
그럼 모든 박스의 margin을 제거하고 3번째만 .fromLTRB()를 사용해 볼게요.
참고로 LTRB는 Left Top Right Bottom입니다.
즉 왼쪽 위 오른쪽 아래 순으로 입력하는거죠.
세번째 박스에 위는 50.0 아래는 100.0을 지정해볼게요.
그럼 최종 코드는 다음과 같죠.
class MyApp extends StatelessWidget {
  @override
  Widget build(BuildContext context){
    return MaterialApp(
      title: 'hello',
      theme: ThemeData(
        primarySwatch: Colors.blue,
      ),
      home: Container(
        color: Colors.red,
        child: Center(
          child: Column(
            mainAxisAlignment: MainAxisAlignment.center,
            children: [
              Container(
                width: 50,
                height: 50,
                color: Colors.blue,
              ),
              Container(
                width: 60,
                height: 60,
                color: Colors.yellow,
              ),
              Container(
                width: 70,
                height: 70,
                color: Colors.green,
                margin: EdgeInsets.fromLTRB(0.0,50.0,0.0,100.0),
              ),
              Container(
                width: 80,
                height: 80,
                color: Colors.purpleAccent,
              ),
              Container(
                width: 90,
                height: 90,
                color: Colors.pinkAccent,
              ),
            ],
          ),
        ),
      ),
    );
  }
}
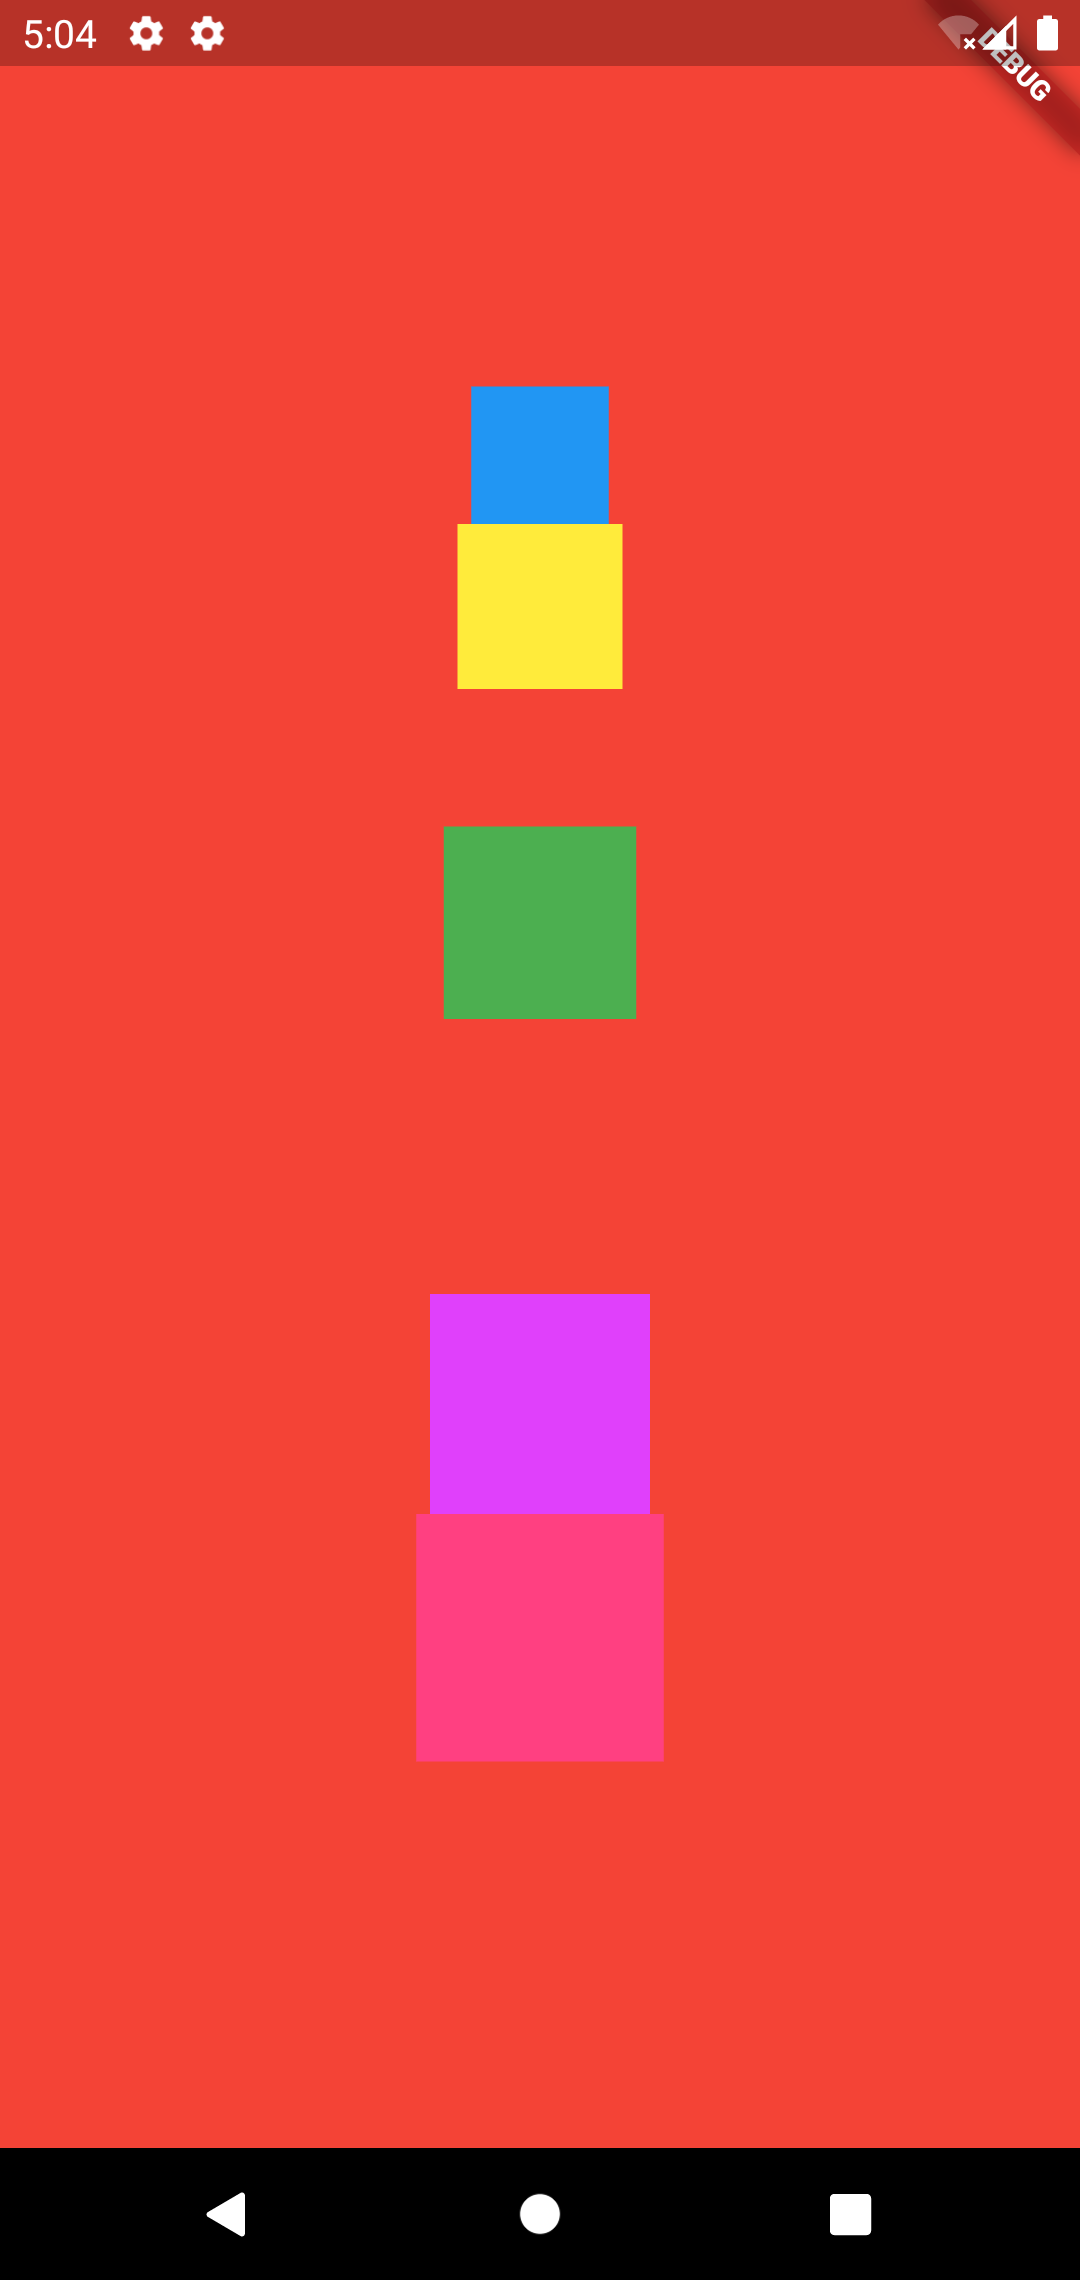
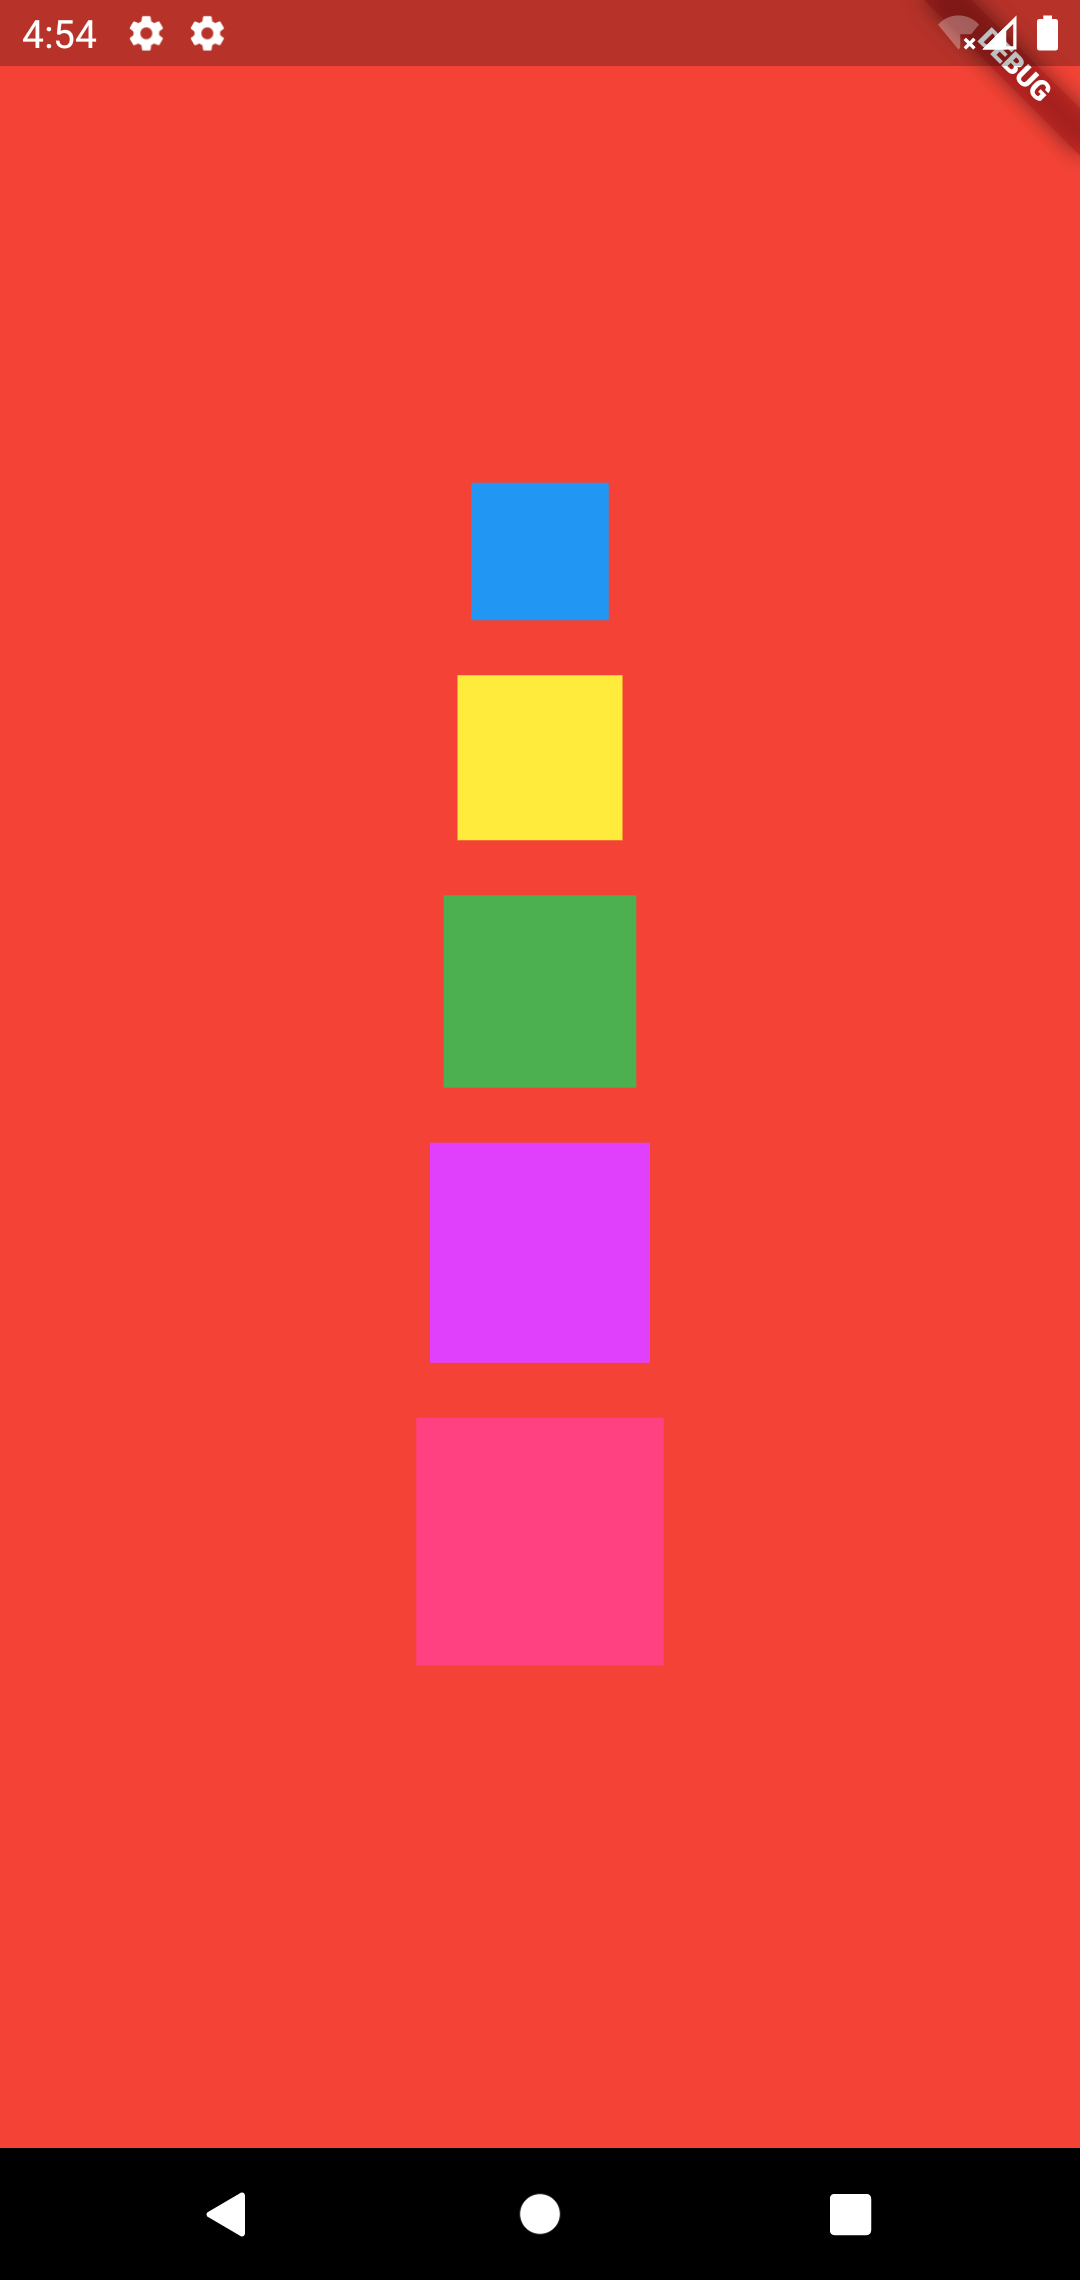
위 이미지를 보면 위 아래 간격이 각각 다른걸 볼 수 있어요 50.0, 100.0만큼 떨어져있죠.
그럼 다음시간에는 박스를 가로로 배치해볼게요.


