

ReactJS
ReactJS 기본 앱 구조 살펴보기
ReactJS 기본 앱 구조 살펴보기

1. 인덱스 파일 살펴보자.
그동안 이것저것 하느라 리액트는 시작도 못했습니다.
원래 개발이란게 그렇죠. ^^.
우리 index.html 파일 아시죠? 웹에서 특정 주소를 파일없이 입력하면 해당 폴더의 index.html 파일을 기본적으로 보여줍니다.
없으면 not found 뭐 이런페이지가 뜨죠.
우리의 my_first_react_app을 구동해주세요.
이제 이 정도는 아시죠.
마지막으로 한번 더 해봅시다.
터미널을 켜고 my_first_react_app 폴더에 진입 후 npm start를 입력합니다.
cd my_first_react_app
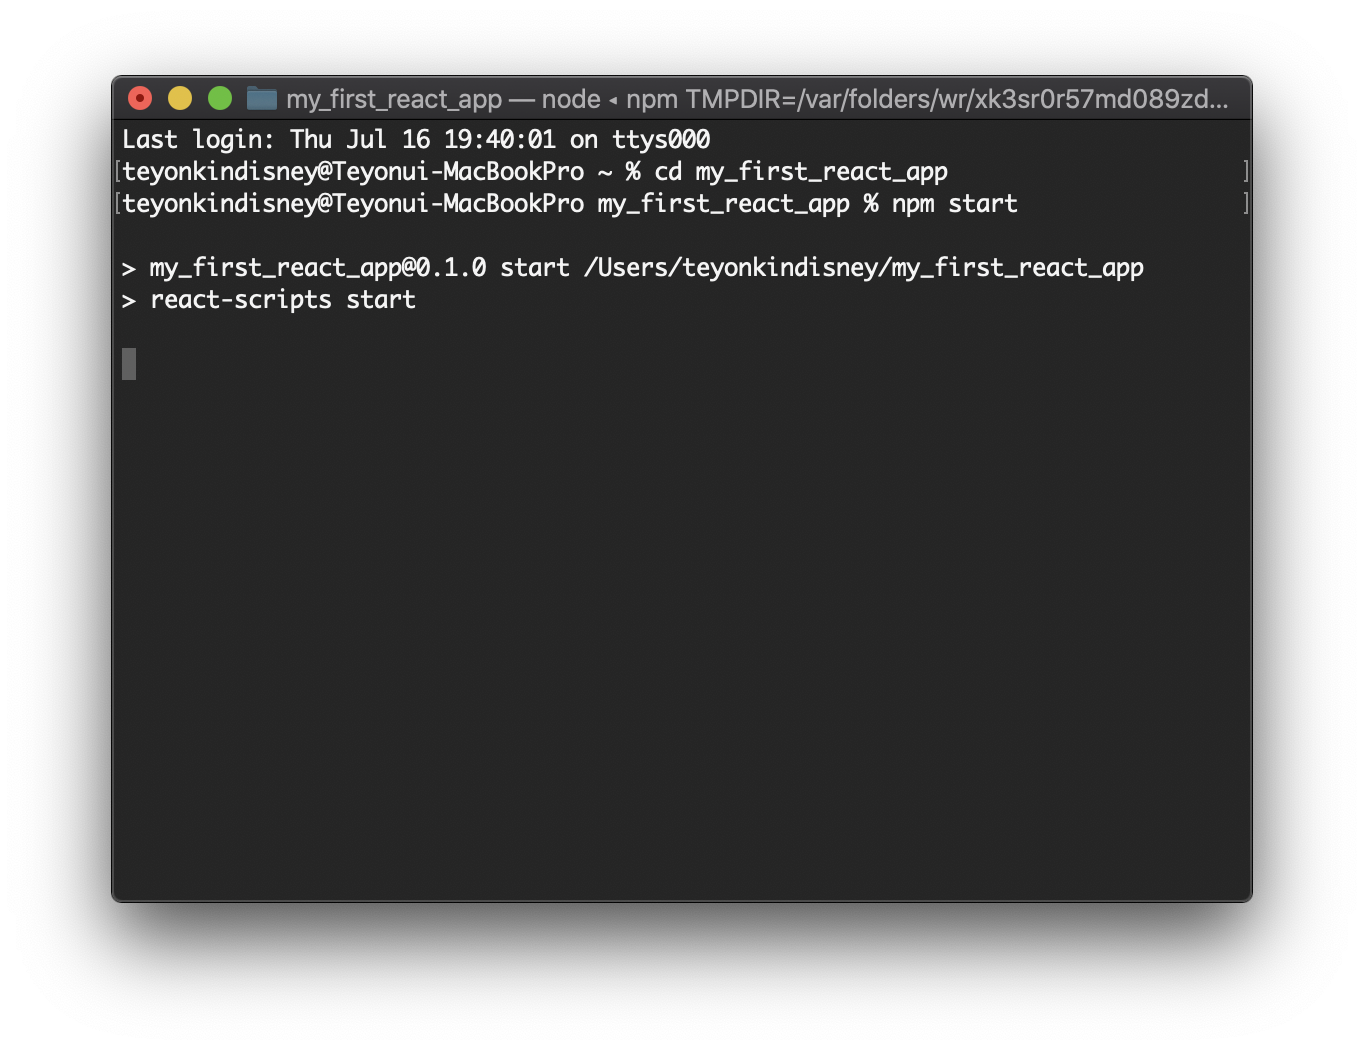
npm start
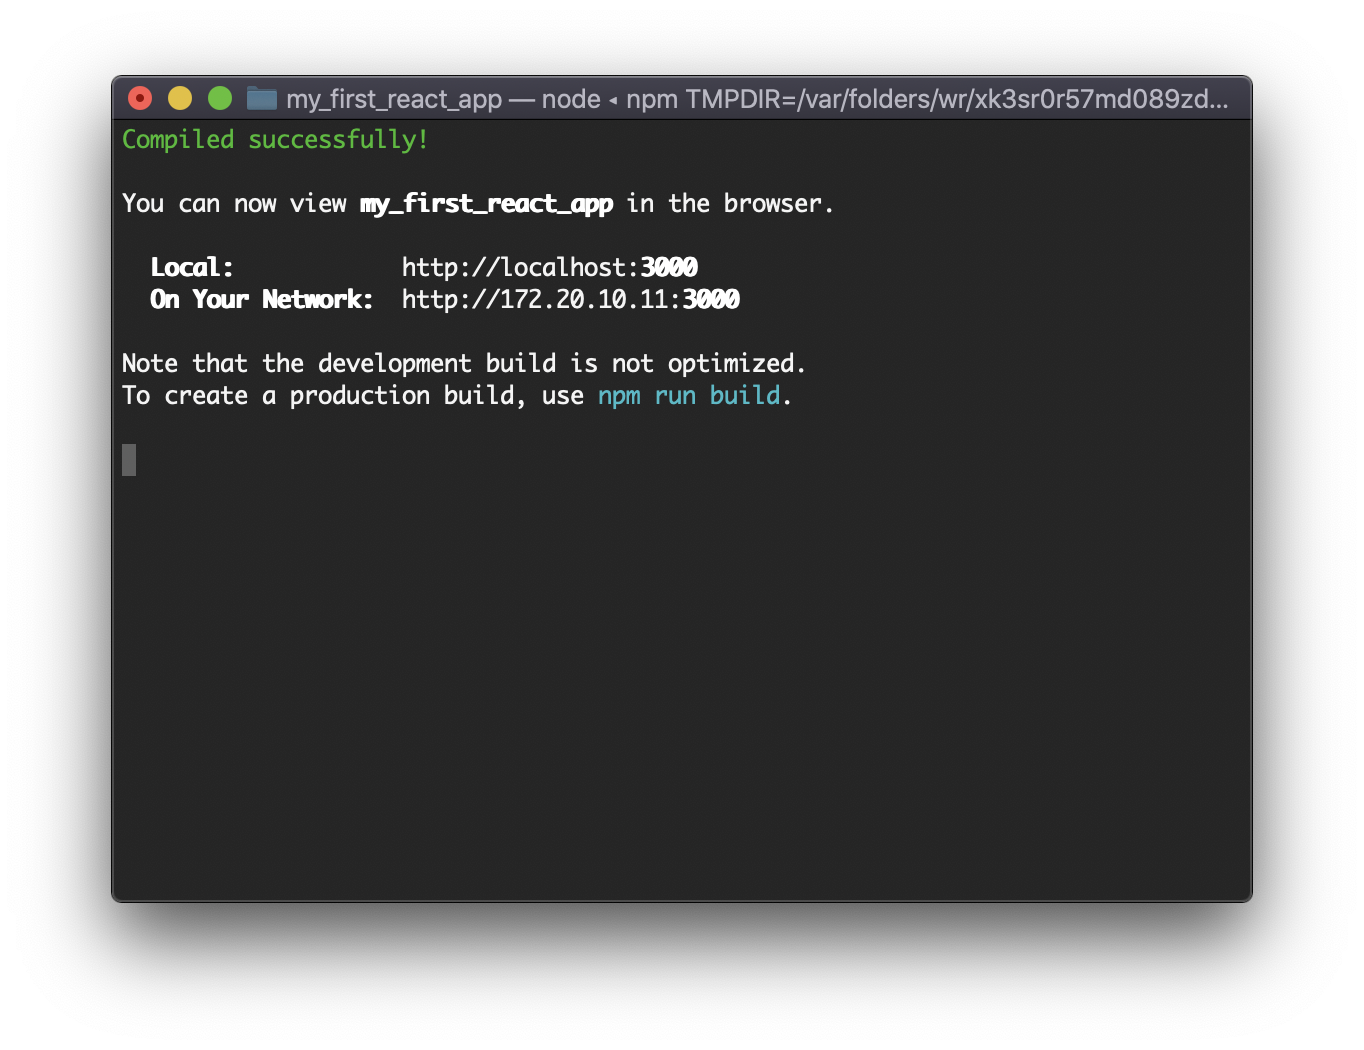
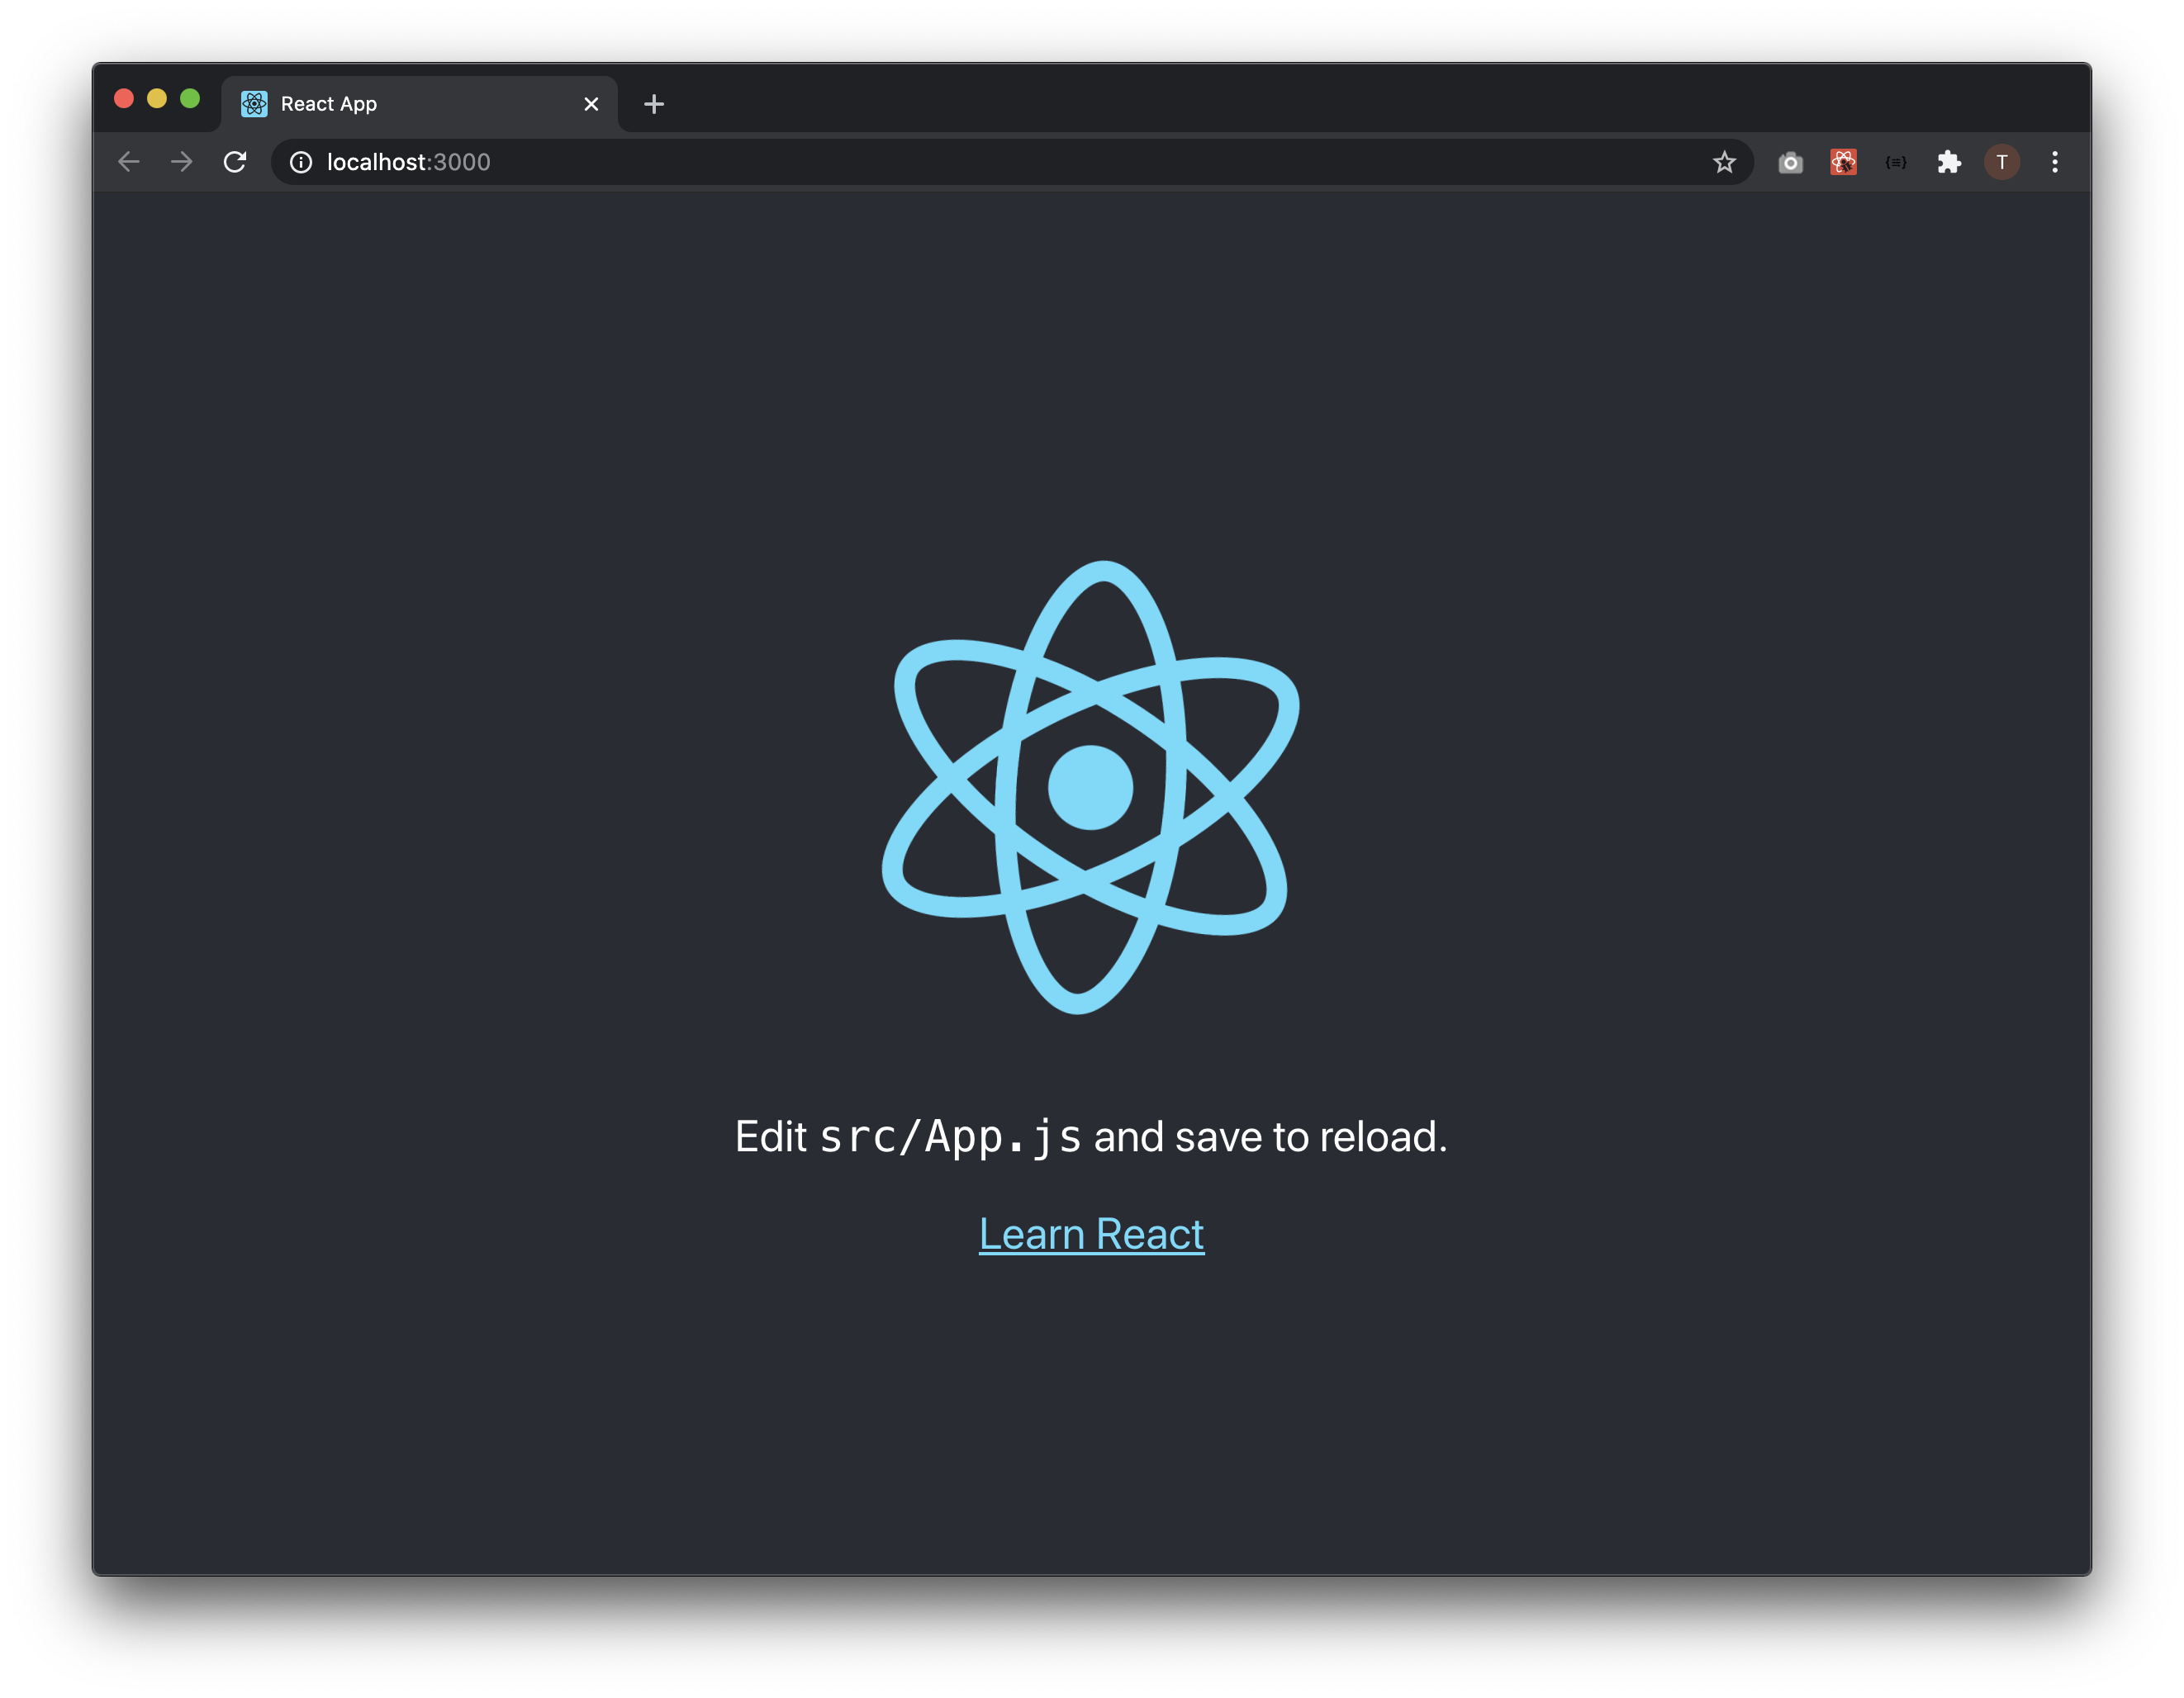
자동으로 브라우저가 켜지면서 프로젝트가 뜹니다.
자 다시 그럼 index.html 파일을 봅시다.
index.html은 public폴더에 있습니다.
다음의 코드로 구성되어있습니다.
/public/index.html
<!DOCTYPE html>
<html lang="en">
  <head>
    <meta charset="utf-8" />
    <link rel="icon" href="%PUBLIC_URL%/favicon.ico" />
    <meta name="viewport" content="width=device-width, initial-scale=1" />
    <meta name="theme-color" content="#000000" />
    <meta
      name="description"
      content="Web site created using create-react-app"
    />
    <link rel="apple-touch-icon" href="%PUBLIC_URL%/logo192.png" />
    <!--
      manifest.json provides metadata used when your web app is installed on a
      user's mobile device or desktop. See https://developers.google.com/web/fundamentals/web-app-manifest/
    -->
    <link rel="manifest" href="%PUBLIC_URL%/manifest.json" />
    <!--
      Notice the use of %PUBLIC_URL% in the tags above.
      It will be replaced with the URL of the `public` folder during the build.
      Only files inside the `public` folder can be referenced from the HTML.

      Unlike "/favicon.ico" or "favicon.ico", "%PUBLIC_URL%/favicon.ico" will
      work correctly both with client-side routing and a non-root public URL.
      Learn how to configure a non-root public URL by running `npm run build`.
    -->
    <title>React App</title>
  </head>
  <body>
    <noscript>You need to enable JavaScript to run this app.</noscript>
    <div id="root"></div>
    <!--
      This HTML file is a template.
      If you open it directly in the browser, you will see an empty page.

      You can add webfonts, meta tags, or analytics to this file.
      The build step will place the bundled scripts into the <body> tag.

      To begin the development, run `npm start` or `yarn start`.
      To create a production bundle, use `npm run build` or `yarn build`.
    -->
  </body>
</html>
자 그럼 타이틀 태그를 수정해봅시다.
My First React APP으로 변경합시다.
<title>My First React APP</title>
그리고 크롬을 새로고침합니다.
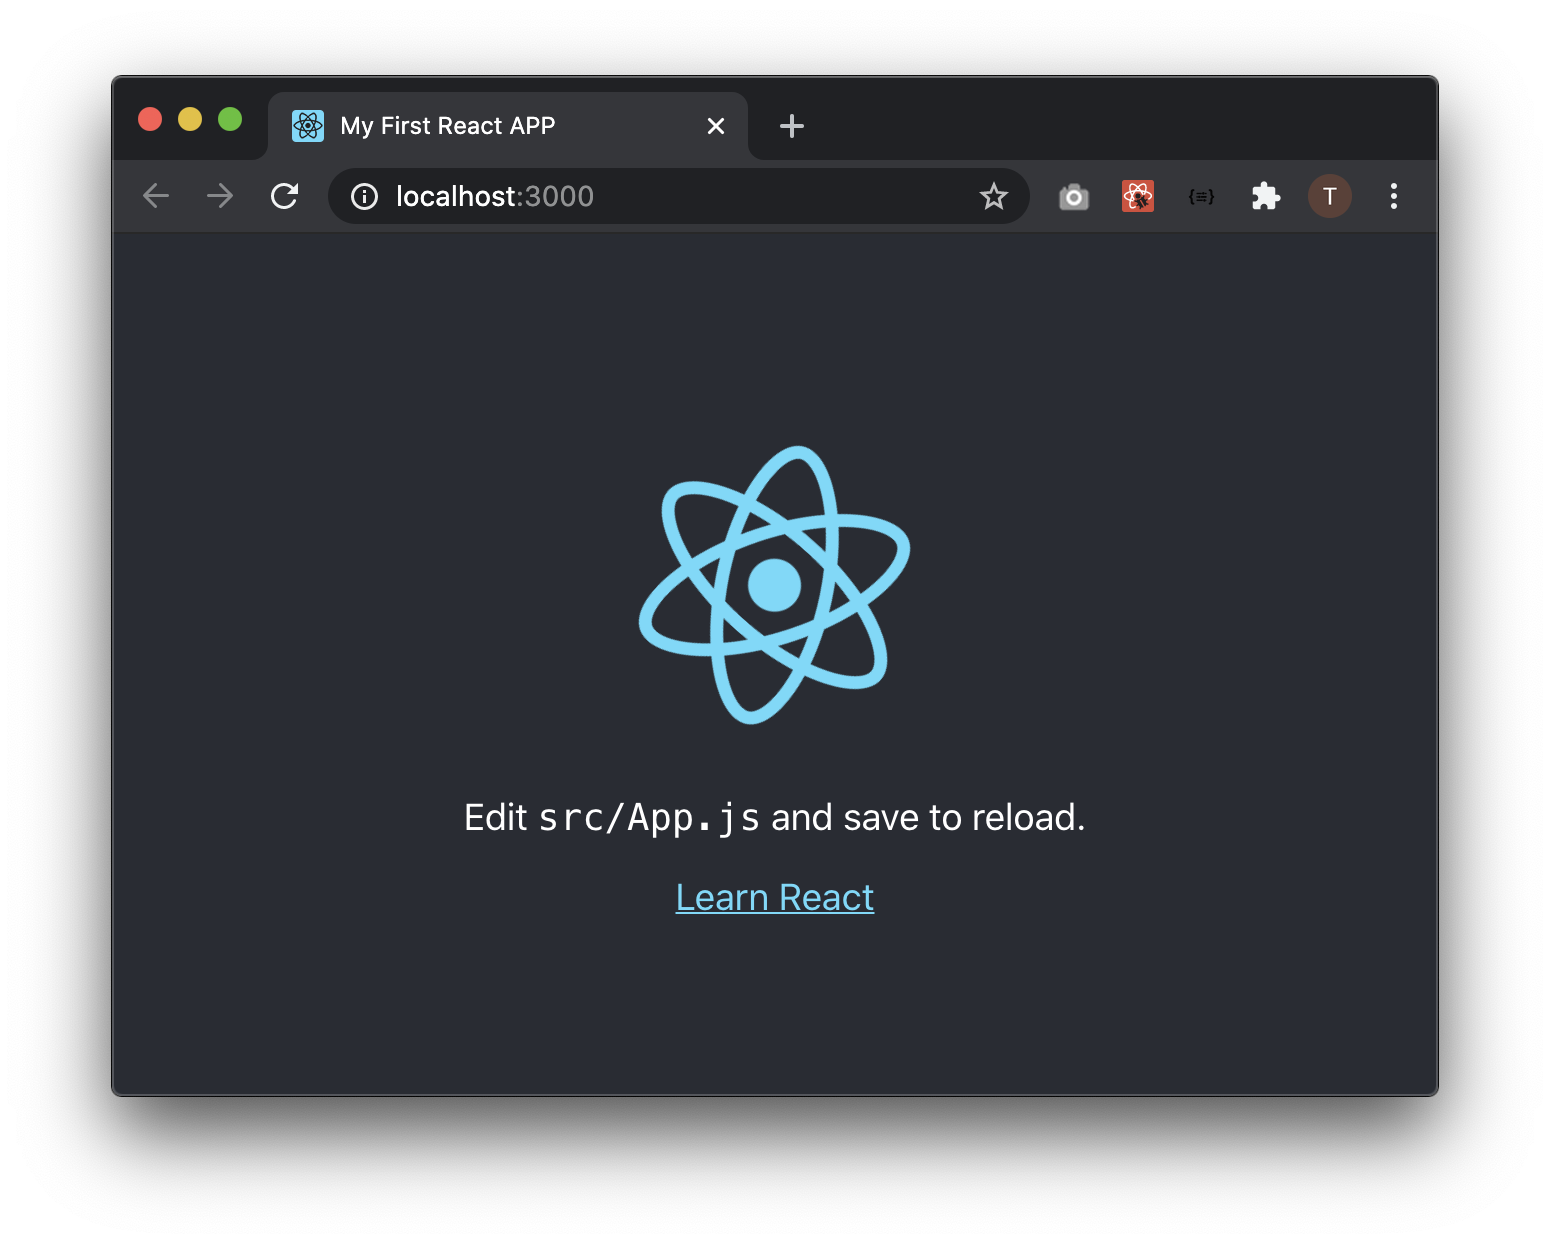
바뀐걸 볼 수 있습니다.
이걸 해 본 이유는 index.html파일을 보여주고 있지만 정작 body태그를 보면 뭐 별거없네요.
태그라고 있는건 이것뿐이죠...
<div id="root"></div>
즉 무언가가 div id="root"에 태그를 넣어주고 있다는겁니다.
우리는 이제 무엇이 root태그에 무언가를 넣고 있는지 알아볼거에요.
src폴더에 있는 index.js를 보겠습니다.
/src/index.js
import React from 'react';
import ReactDOM from 'react-dom';
import './index.css';
import App from './App';
import * as serviceWorker from './serviceWorker';

ReactDOM.render(
  <React.StrictMode>
    <App />
  </React.StrictMode>,
  document.getElementById('root')
);

// If you want your app to work offline and load faster, you can change
// unregister() to register() below. Note this comes with some pitfalls.
// Learn more about service workers: https://bit.ly/CRA-PWA
serviceWorker.unregister();
위의 코드에서 ReactDOM.render()안에 2개의 값이 들어갑니다.
첫번째 값에 있는 <App /> 두번째 값에 있는 document.getElementById('root')를 봐 주세요.
render()는 화면에 출력할 때 사용하며 App은 컴포넌트입니다.
그리고 document.getElementById('root')는 다들 잘 아시겠지만 id속성값이 root인 태그 선택자입니다.
즉, App컴포넌트의 내용을 id속성값이 root인 태그에 뿌리는것입니다.
이제와서 죄송하지만 document.getElementById('root') 이것이 뭔지 모르는 분은 ECAMScript6를 먼저 보셔야합니다.
여기서 이제 의문점이 발생합니다. App 컴포넌트는 뭐냐 App은 뭐고 컴포넌트는 뭐냐 라는 의문이죠.
App은 컴포넌트의 이름입니다. App 컴포넌트는 어디에 있을까요?
index.js파일의 상단을 보면 다음의 코드가 있습니다.
import App from './App';
import는 다른 파일을 가져올 때 사용하는 명령문입니다.
위의 코드를 해석하자면 App파일에 있는 App 컴포넌트를 가져온다 입니다
참고로 './App'의 ./는 현재 폴더를 의미하며 App은 App.js를 의미합니다.
즉 App 컴포넌트가 index.js파일이 있는 폴더의 App.js 파일에 있음을 의미합니다.
그럼 App.js 폴더의 내용을 봅시다.
2. App.js 파일을 살펴보자.
/src/App.js
import React from 'react';
import logo from './logo.svg';
import './App.css';

function App() {
  return (
    <div className="App">
      <header className="App-header">
        <img src={logo} className="App-logo" alt="logo" />
        <p>
          Edit <code>src/App.js</code> and save to reload.
        </p>
        <a
          className="App-link"
          href="https://reactjs.org"
          target="_blank"
          rel="noopener noreferrer"
        >
          Learn React
        </a>
      </header>
    </div>
  );
}

export default App;
오 이제 좀 메인화면에 보이는 것들이 보이네요.
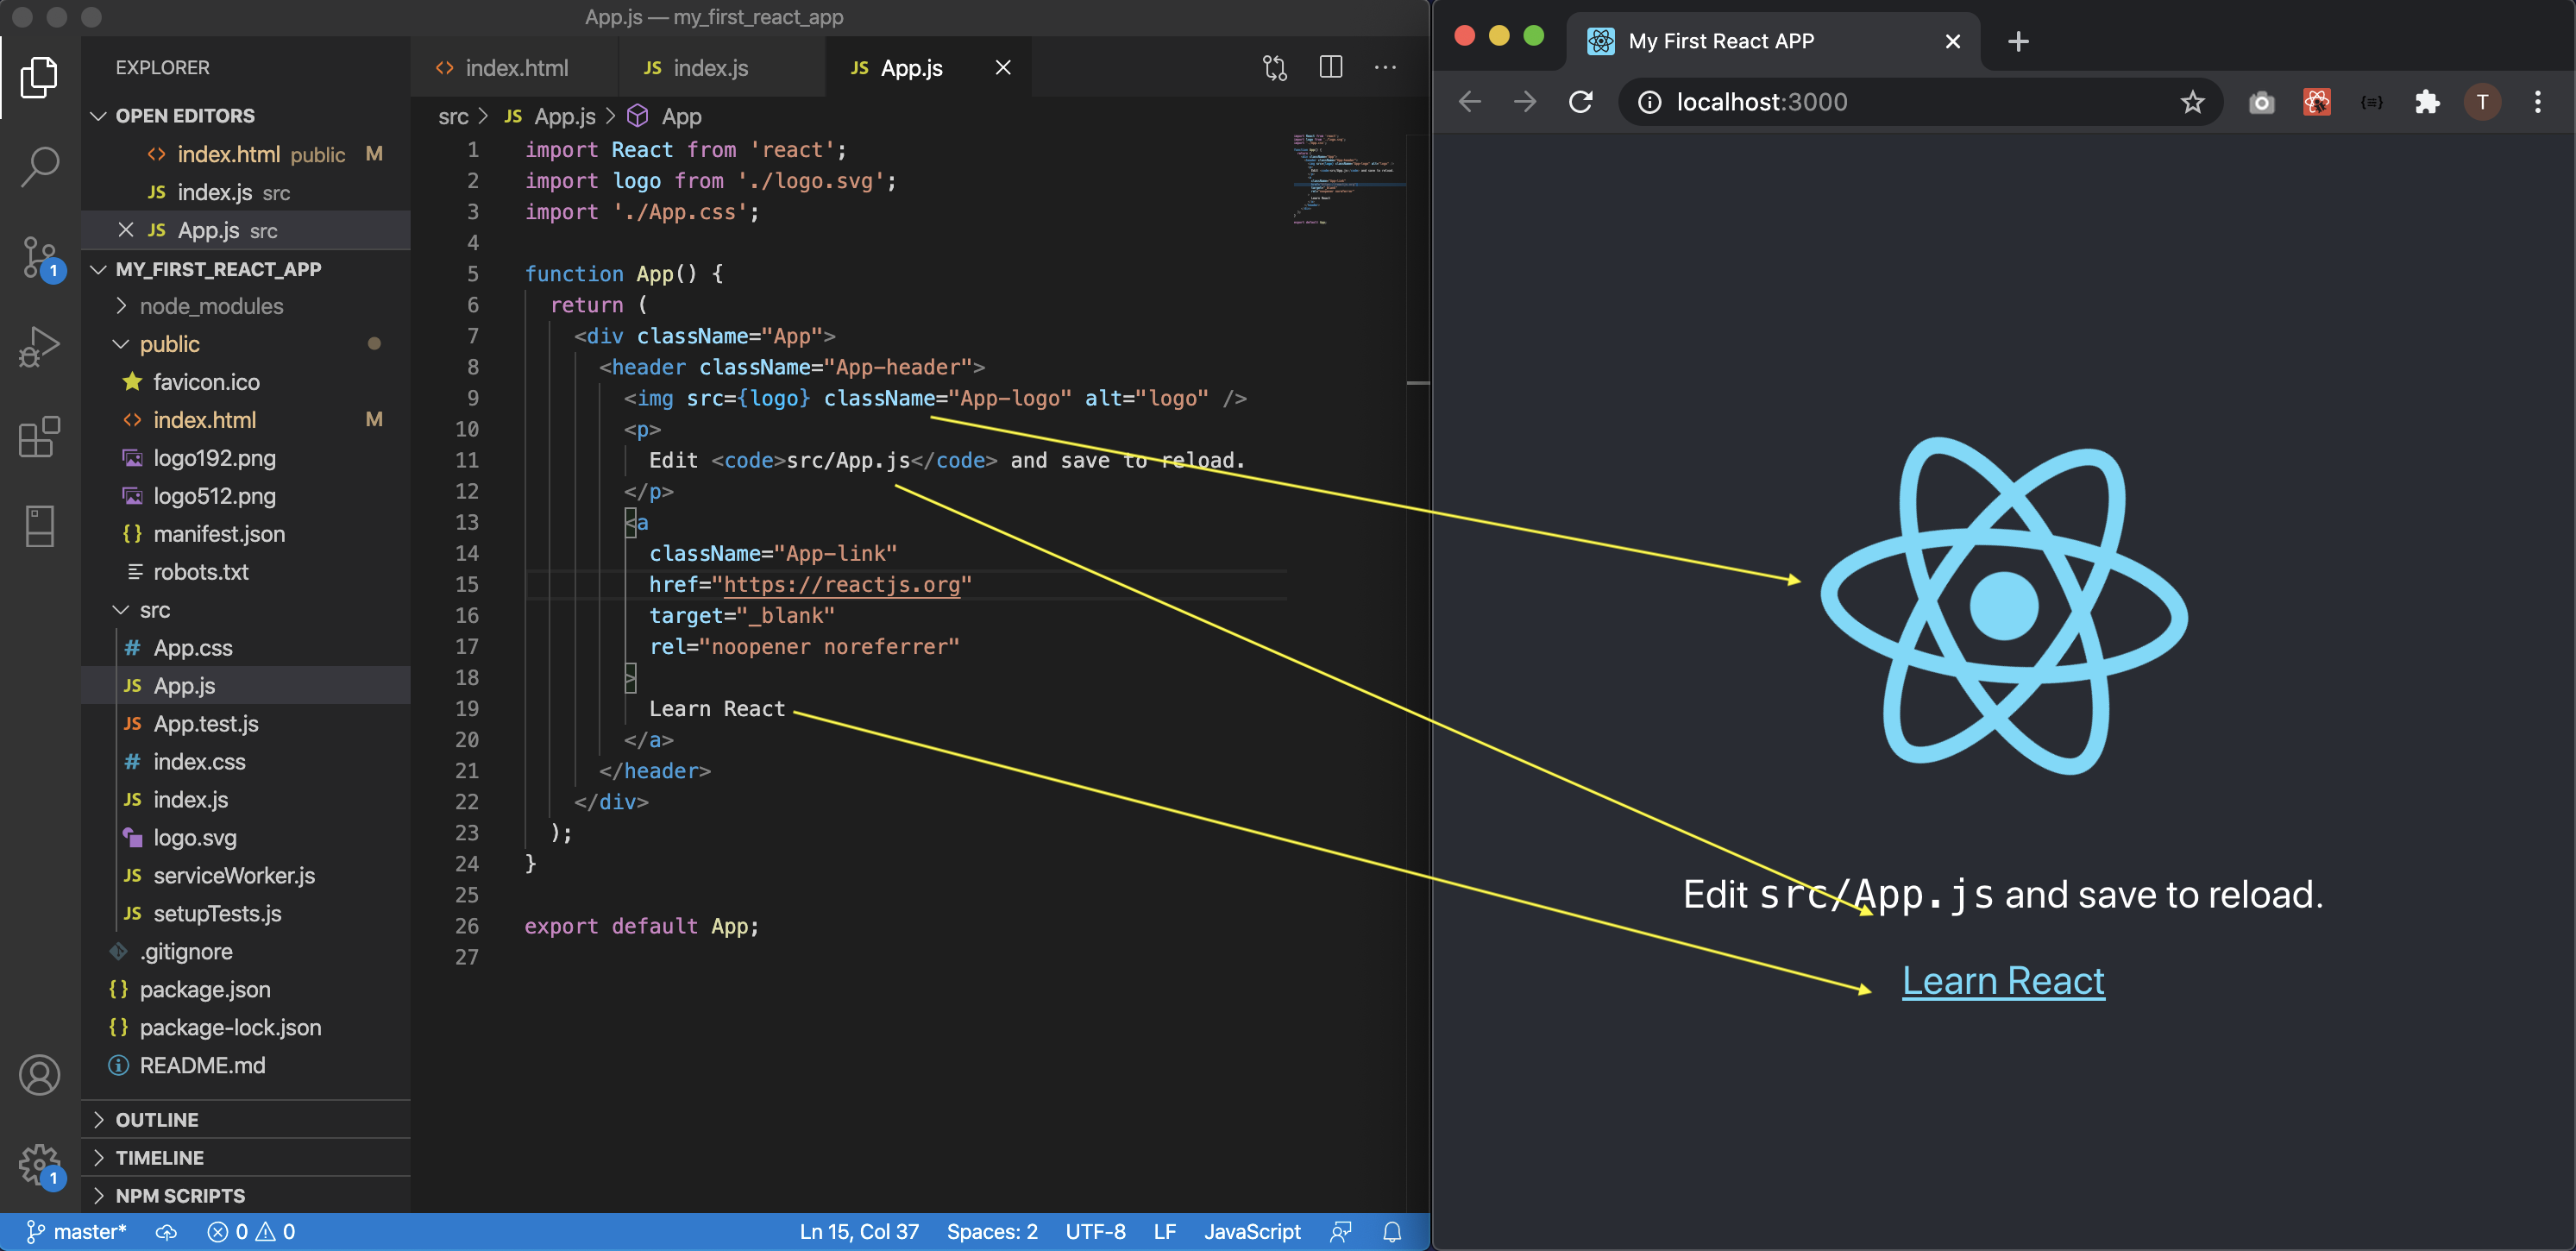
뭐가 뭔지는 모르지만 살짝 감이 오시죠?
컴포넌트가 뭔지 모르지만 App이란 컴포넌트가 있고 index.js에 import되고 index.js에서app 컴포넌트를 index.html파일에 있는 id="root"에 뿌린다. 뭐 이정도;;;
자, 그럼 다음강좌에서는 컴포넌트는 뭔지 한번 알아봅시다. ^^


