

예전에는 값을 입력하거나 또는 불러오려면 새로고침을 하여 데이터를 변환했었습니다.
그러다가 AJAX가 탄생 후 페이지의 세로고침없이 새로운 정보를 받을 수 있게 되었습니다.
동적데이터를 다룰려면 state를 사용합니다.
state는 다음과 같이 사용합니다.
state = {
    변수 : 값,
    변수 : 값,
    변수 : 값,
};
사용할 동적 데이터를 state에 미리 추가하고 초기값을 설정합니다.
우리가 사용할 axios에서 받아온 데이터도 state에 의해 관리하게합니다.
간단히 연습을 하기위해 새 컴포넌트를 만들겠습니다.
참고로 state는 클래스형 컴포넌트에서 사용할 수 있습니다.
src폴더에 Mytest.js 파일을 생성하고 Mytest 컴포넌트를 클래스형으로 생성하겠습니다.
import React, { Component } from 'react';

class Mytest extends Component {
    constructor(props) {
        super(props);
        console.log('in constructor');
    }

    state = {

    };
}

export default Mytest;
그럼 자신의 나이를 표시하는 프로그램을 만들어 보겠습니다.
우리는 간단히 플러스 마이너스 버튼을 생성하고 화면에 숫자를 표시하여 플러스 버튼을 누르면 나이가 증가하고 마이너스 버튼을 누르면 나이가 감소하는 기능을 만들겠습니다.
App 컴포넌트가 Mytest컴포넌트를 출력할 수 있게 App.js파일을 수정합니다.
Device 컴포넌트대신 Mytest컴포넌트를 import합니다.
import React from 'react';
import Mytest from './Mytest';

function App() {

    return (
        <div>
            <Mytest />
        </div>

    );
}

export default App;
Device.js 파일을 다음과 같이 수정합니다.
import React, { Component } from 'react';

class Mytest extends Component {
    constructor(props) {
        super(props);
        console.log('in constructor');
    }

    render(){
        return(
            <div>
                <input type="button" value="plus"></input>
                <input type="button" value="minus"></input>
                <p>My Age is : </p>
            </div>
        );
    }
}

export default Mytest;
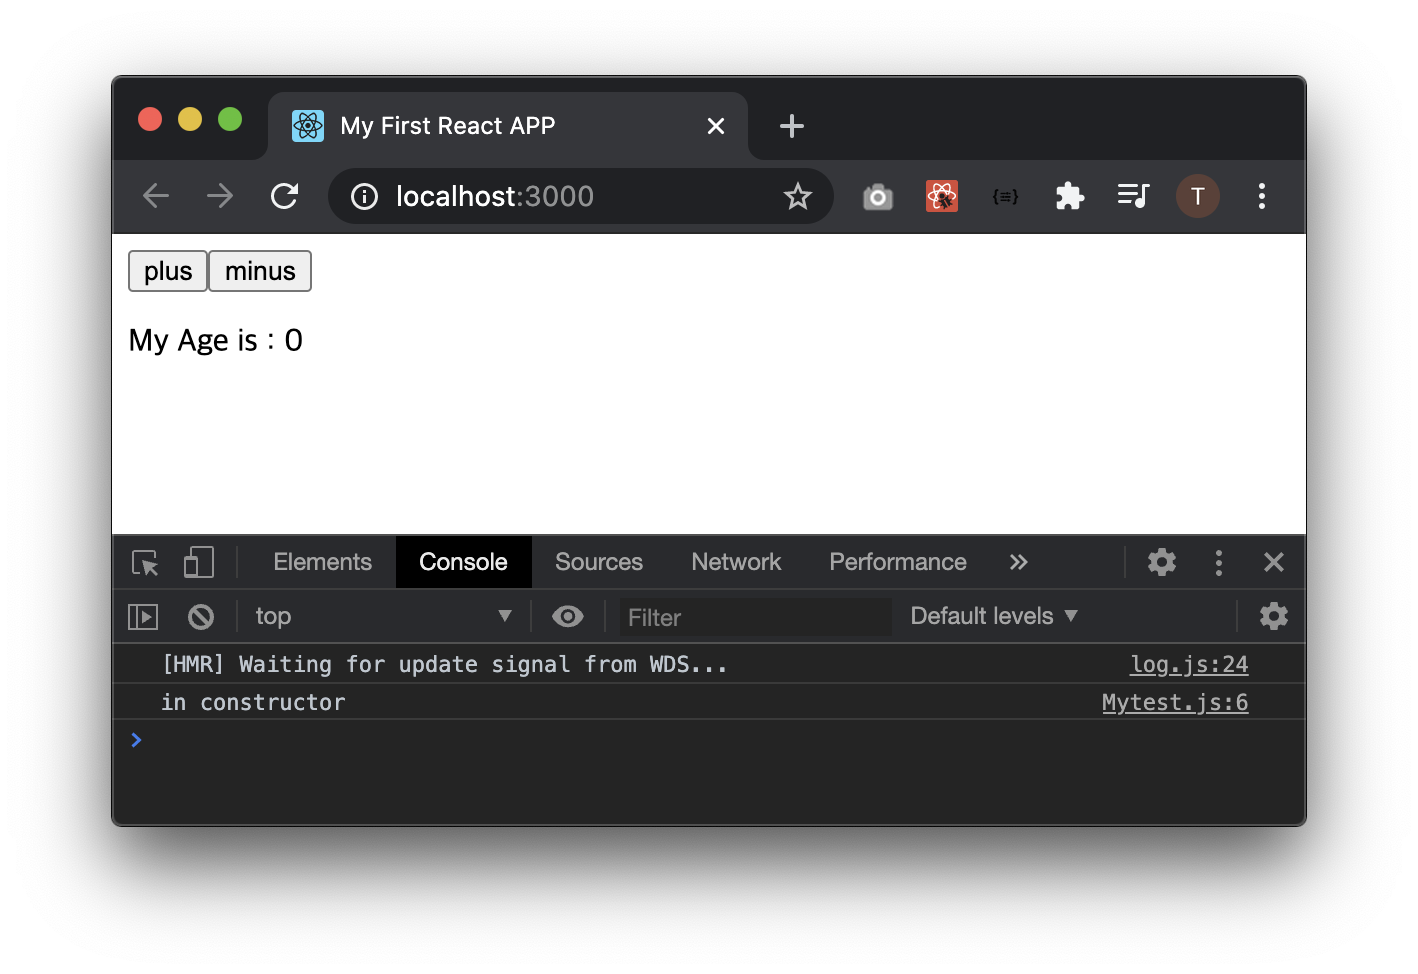
자, 여기까지 입력하면 다음의 화면이 나타납니다.

이번에는 state를 생성할게요.
나이는 변수명을 myAge로 하겠습니다. 초기값은 0으로 할게요.
그리고 p태그에 myAge state를 출력하겠습니다.
state = {
    myAge : 0,
};
<p>My Age is : { this.state.myAge }</p>
state에 this 연산자를 통해 접근할 수 있습니다.
this.state.state명
그럼 state를 적용해볼게요.
import React, { Component } from 'react';

class Mytest extends Component {
    constructor(props) {
        super(props);
        console.log('in constructor');
    }

    state = {
        myAge : 0,
    };

    render(){
        return(
            <div>
                <input type="button" value="plus"></input>
                <input type="button" value="minus"></input>
                <p>My Age is : { this.state.myAge }</p>
            </div>
        );
    }
}

export default Mytest;

위의 이미지를 보면 My Age is : 다음에 초기값인 0이 표시됩니다.
이번에는 버튼에 클릭 이벤트를 만들어 볼게요.
우선 plus, minus 함수를 화살표 함수로 만듭니다.
plus = () => {
    console.log('in plus');
};

minus = () => {
    console.log('in minus');
};
버튼에 클릭이벤트를 적용하겠습니다.
<input type="button" value="plus" onClick={this.plus}></input>
<input type="button" value="minus" onClick={this.minus}></input>
적용하면 다음과 같습니다.
import React, { Component } from 'react';

class Mytest extends Component {
    constructor(props) {
        super(props);
        console.log('in constructor');
    }

    state = {
        myAge : 0,
    };

    plus = () => {
        console.log('in plus');
    };

    minus = () => {
        console.log('in minus');
    };

    render(){
        return(
            <div>
                <input type="button" value="plus" onClick={this.plus}></input>
                <input type="button" value="minus" onClick={this.minus}></input>
                <p>My Age is : { this.state.myAge }</p>
            </div>
        );
    }
}

export default Mytest;

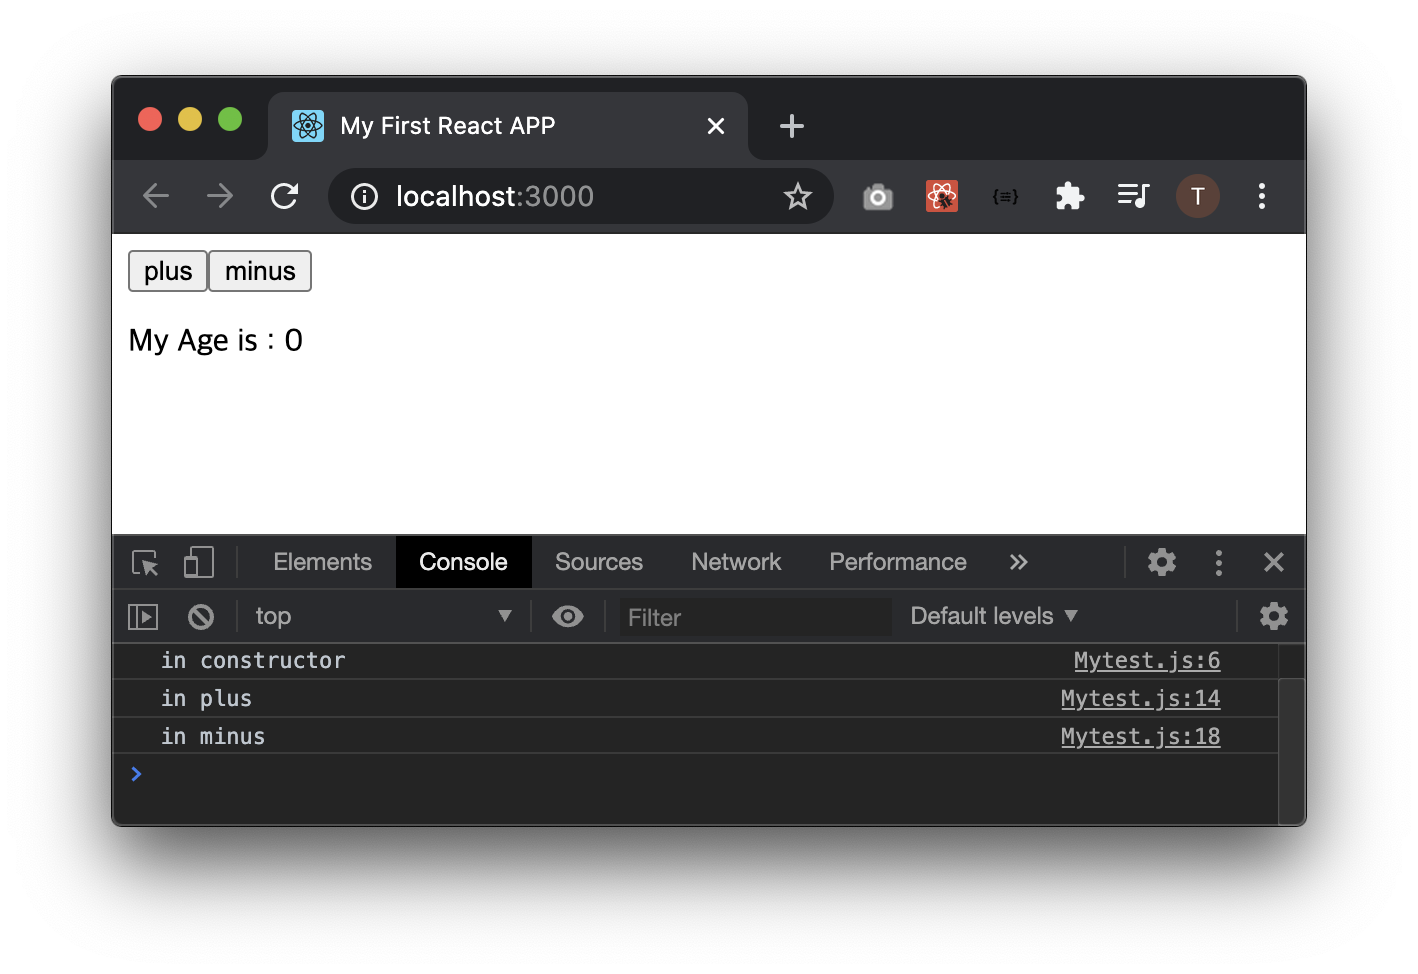
plus버튼과 minus 버튼을 눌러보세요. 반응하여 콘솔로그를 통해 알 수 있습니다.
그럼, 이번에는 버튼을 누르면 myAge값이 변하게끔 해보겠습니다.
이번에는 조금 어렵습니다.
plus함수를 다음과 같이 변경할거에요.
plus = () => {
    // console.log('in plus');
    this.setState(stateValue => ({

        myAge: stateValue.myAge + 1,

        })
    );
}
자, this.setState는 state의 값을 설정할 때 사용합니다.
stateValue는 현재의 state를 의미합니다. stateValue대신 여러분이 원하는 값을 사용할 수 있습니다.
즉, this.setState()함수 안에서 state를 stateValue라는 변수로 사용하겠다는 의미입니다.
myAge:의 값을 설정하는데 stateValue.myAge의 값을 + 1 한 값을 설정합니다.
그러므로 plus함수를 누를때마다 값이 1씩 증가합니다.
그럼 minus 함수는 다음과 같이 적용합니다.
minus = () => {
    // console.log('in minus');
    this.setState(stateValue => ({

        myAge: stateValue.myAge - 1,

        })
    );
}
그럼 Mytest.js에 plus, minus 함수를 적용해봅시다.
import React, { Component } from 'react';

class Mytest extends Component {
    constructor(props) {
        super(props);
        console.log('in constructor');
    }

    state = {
        myAge : 0,
    };

    plus = () => {
        // console.log('in plus');
        this.setState(stateValue => ({

            myAge: stateValue.myAge + 1,

            })
        );
    }

    minus = () => {
        // console.log('in minus');
        this.setState(stateValue => ({

            myAge: stateValue.myAge - 1,

            })
        );
    }

    render(){
        return(
            <div>
                <input type="button" value="plus" onClick={this.plus}></input>
                <input type="button" value="minus" onClick={this.minus}></input>
                <p>My Age is : { this.state.myAge }</p>
            </div>
        );
    }
}

export default Mytest;
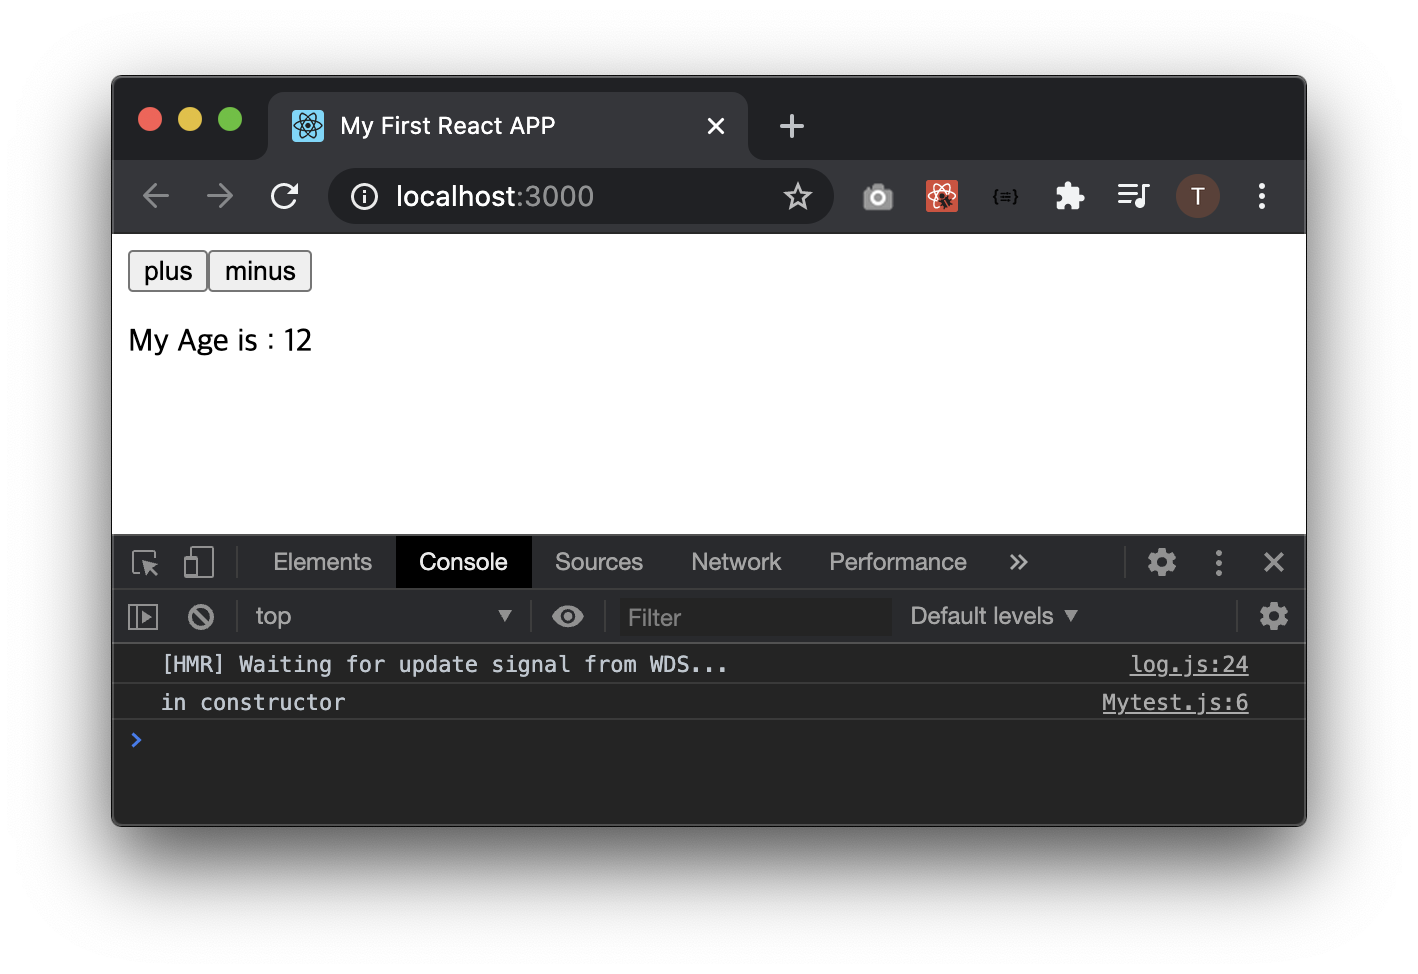
이제 버튼을 누르면 나이가 줄어들거나 늘어나는것을 확인 할 수 있습니다.

봐주셔서 감사합니다.
봐주셔서 감사합니다. 문의 또는 잘못된 설명은 아래의 댓글에 부탁드립니다.
당신의 작은 누름이 저에게는 큰 희망이 됩니다.
댓글 0개
정렬기준
